Selfhosting Kubernetes
by Tilo Klarenbeek - 19.06.2024Let me start with: “Does it make sense to self-host Kubernetes? Probably not, it doesn’t even make sense to me, but nonetheless, K8s is an amazing technology that I think is worth exploring.”
Requirements
- Linux system, preferably Ubuntu (Server) 20+.
- Internet connection
- Optional:
- A domain + public & static ip
Installing microk8s
This part will mostly follow the instructions from Canonical. Microk8s is a utility that makes it really easy to set up your personal Kubernetes cluster. It’s original intention was to be a tool for developers to test Kubernetes deployments on their local machine. But Canonical itself claims that the tool is production-ready, and there’s really no reason why you can’t use it to host your production system.
The easiest way to install microk8s is via snap:
sudo snap install microk8s --classicIf you have a tightly configured firewall, you may need to allow microk8s traffic.
sudo ufw allow in on cni0 && sudo ufw allow out on cni0
sudo ufw default allow routedAddons. Microk8s uses an addon system that makes it easy to install core components of your cluster. We will start with some of the most important in my opinion.
microk8s enable dns # manage your local domain names within the cluster
microk8s enable dashboard # The Kubernetes dashboard
microk8s enable storage # The ability to bind persistent storage to your cluster.
microk8s enable registry # A local image registry that makes it easier to deploy your application
microk8s enable ingress # The nginx ingress manager, managing incoming traffic
microk8s enable cert-manager # Automatic acquisition of letsencrypt certificates
Congratulations you have your first Kubernetes Cluster up and running!
Exposing the Dashboard
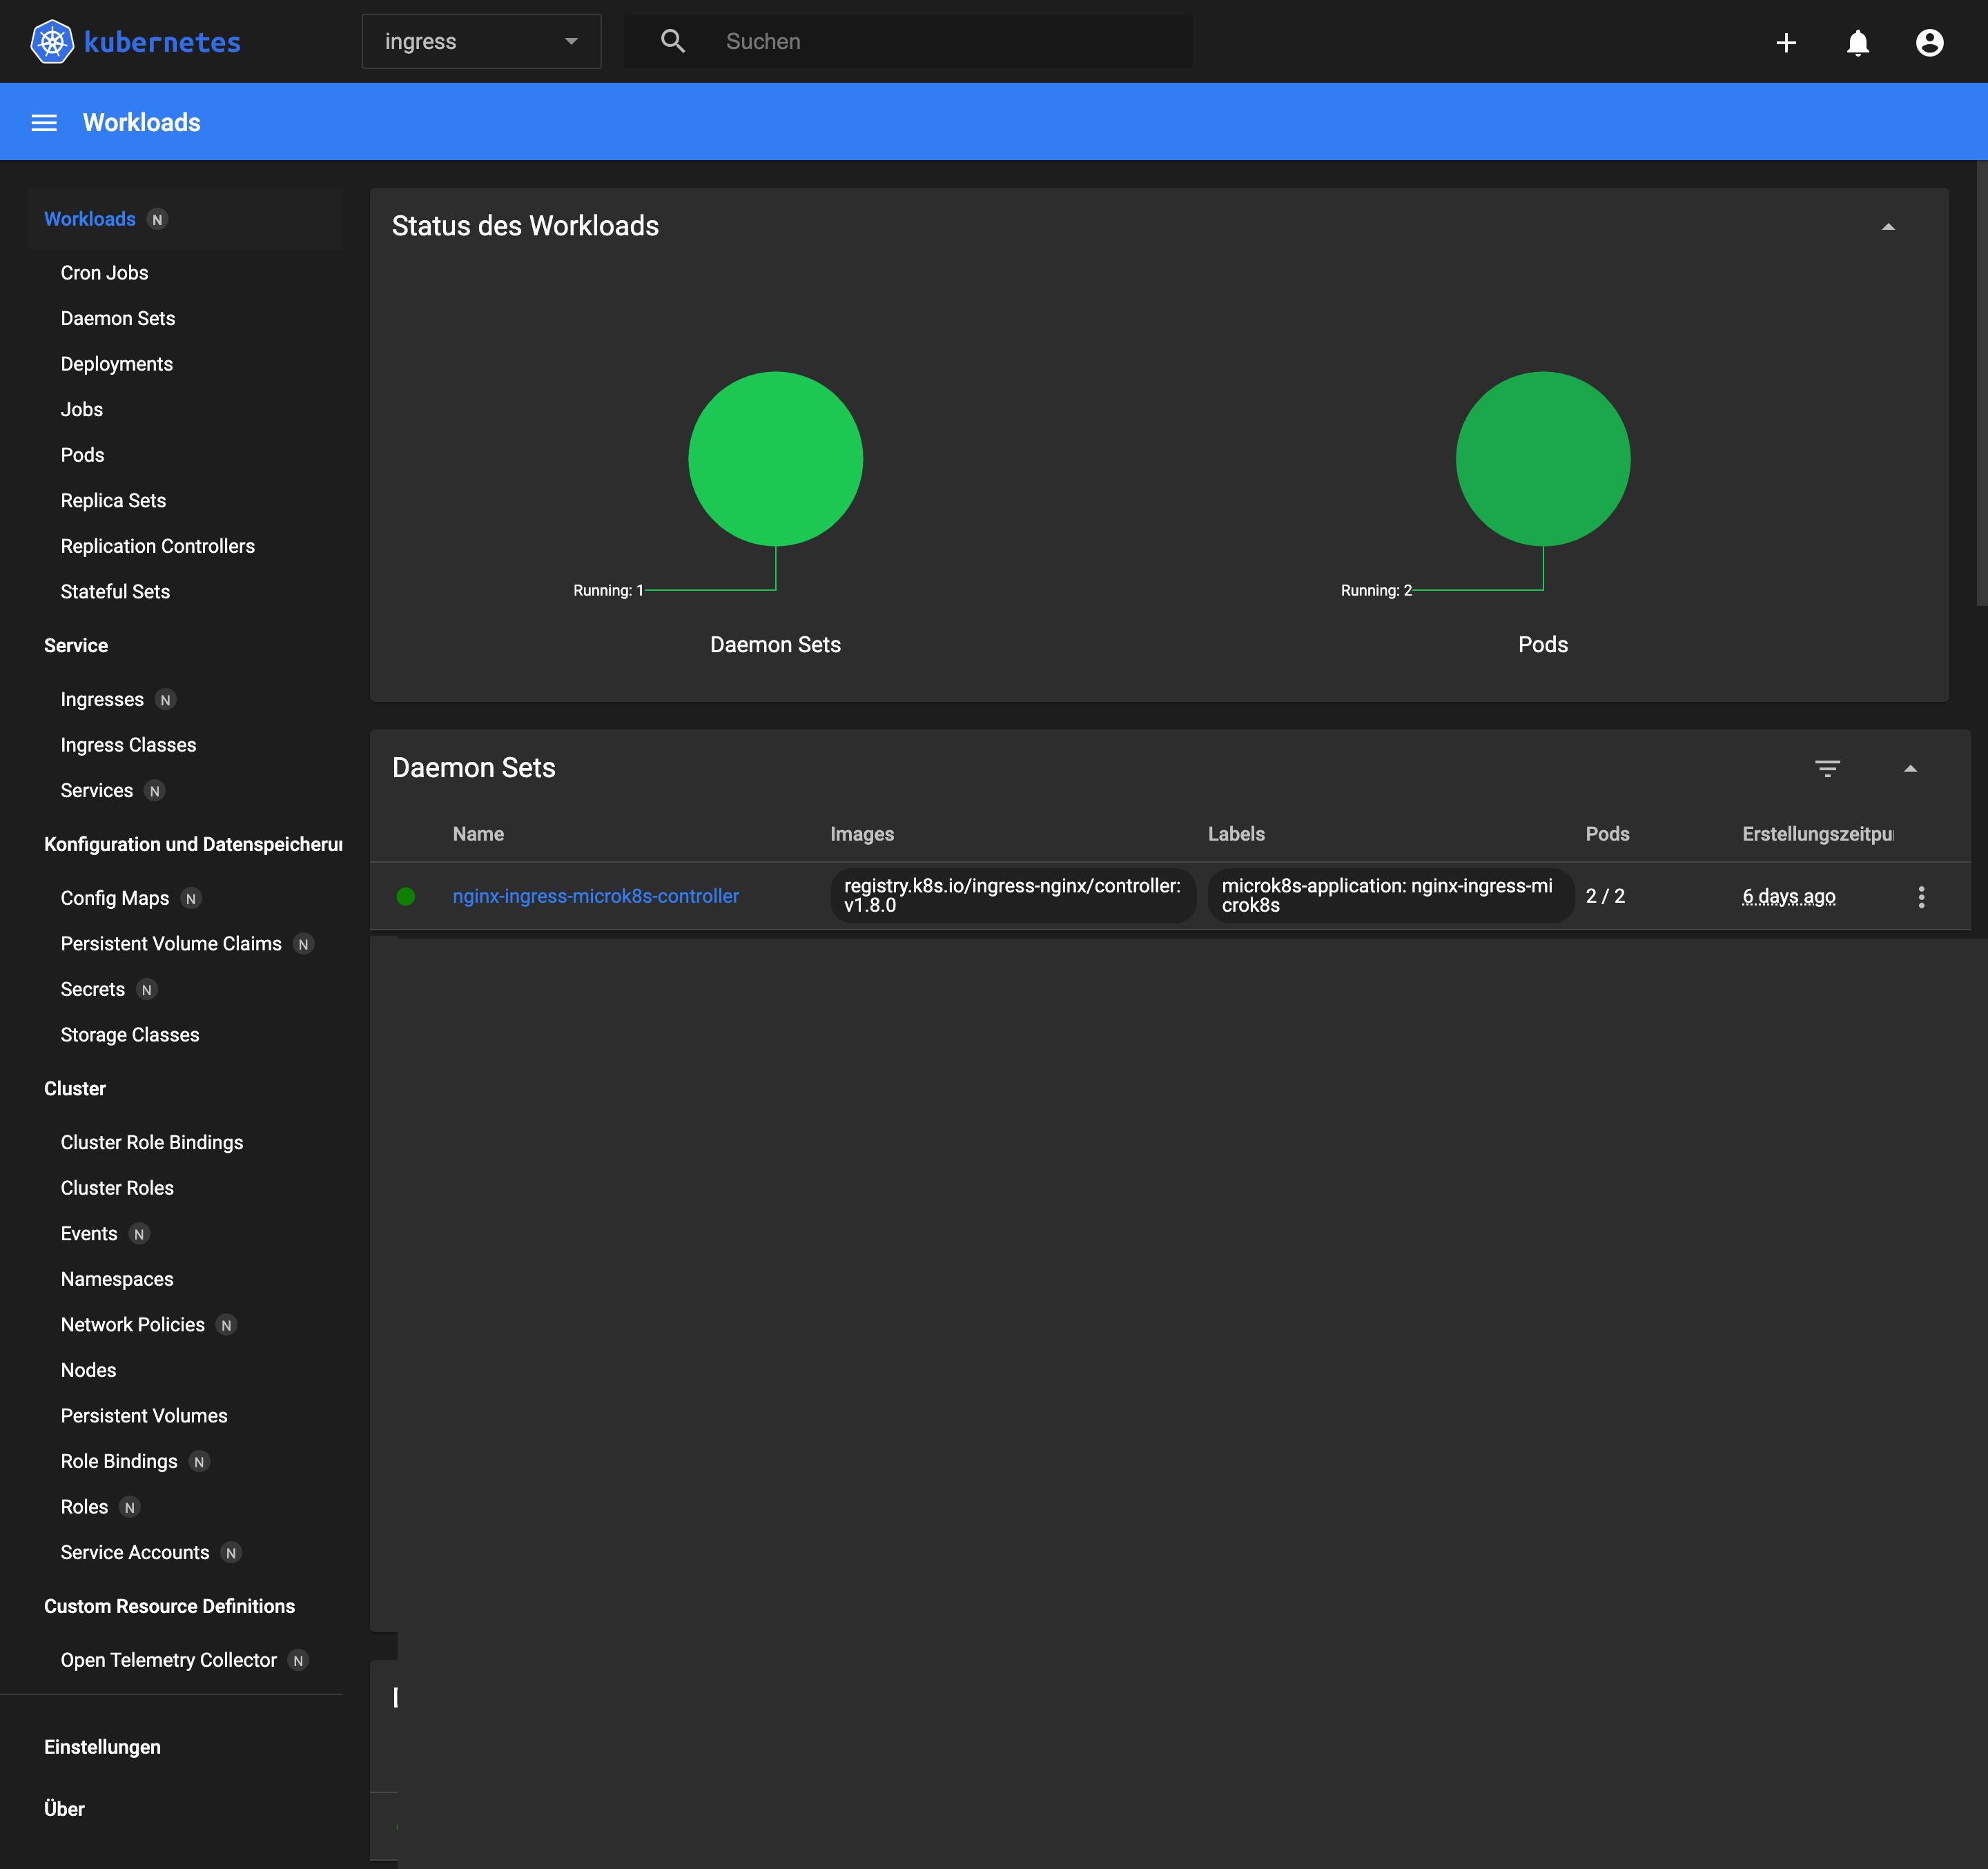
The dashboard is a great graphical way to monitor the state of your deployments. This will also be an example of how to expose a service.
Create an ingress:
Create a dashboard-ingress.yaml with this content
apiVersion: networking.k8s.io/v1
kind: Ingress
metadata:
 name: dashboard-ingress
 annotations:
   cert-manager.io/cluster-issuer: lets-encrypt
    nginx.ingress.kubernetes.io/backend-protocol: HTTPS
    nginx.ingress.kubernetes.io/configuration-snippet: |-
      proxy_ssl_server_name on;
      proxy_ssl_name $host;
spec:
 tls:
 - hosts:
   - dashboard.your-domain.com
   secretName: dashboard-ingress-tls
 rules:
 - host: dashboard.your-domain.com
   http:
     paths:
     - backend:
         service:
           name: kubernetes-dashboard
           port:
             number: 443
       path: /
       pathType: Prefix
You should swap: “dashboard.your-domain.com” with the domain that points to your server.
Now apply this file with:
microk8s kubectl apply -f dashboard-ingress.yaml -n kube-systemThis will create the new ingress inside of the kube-system namespace. If your domain is setup correctly cert-manager should fetch a valid ssl certificate for your service in a couple of minutes. After that you should be able to access your dashboard.
The dashboard will ask you to login:
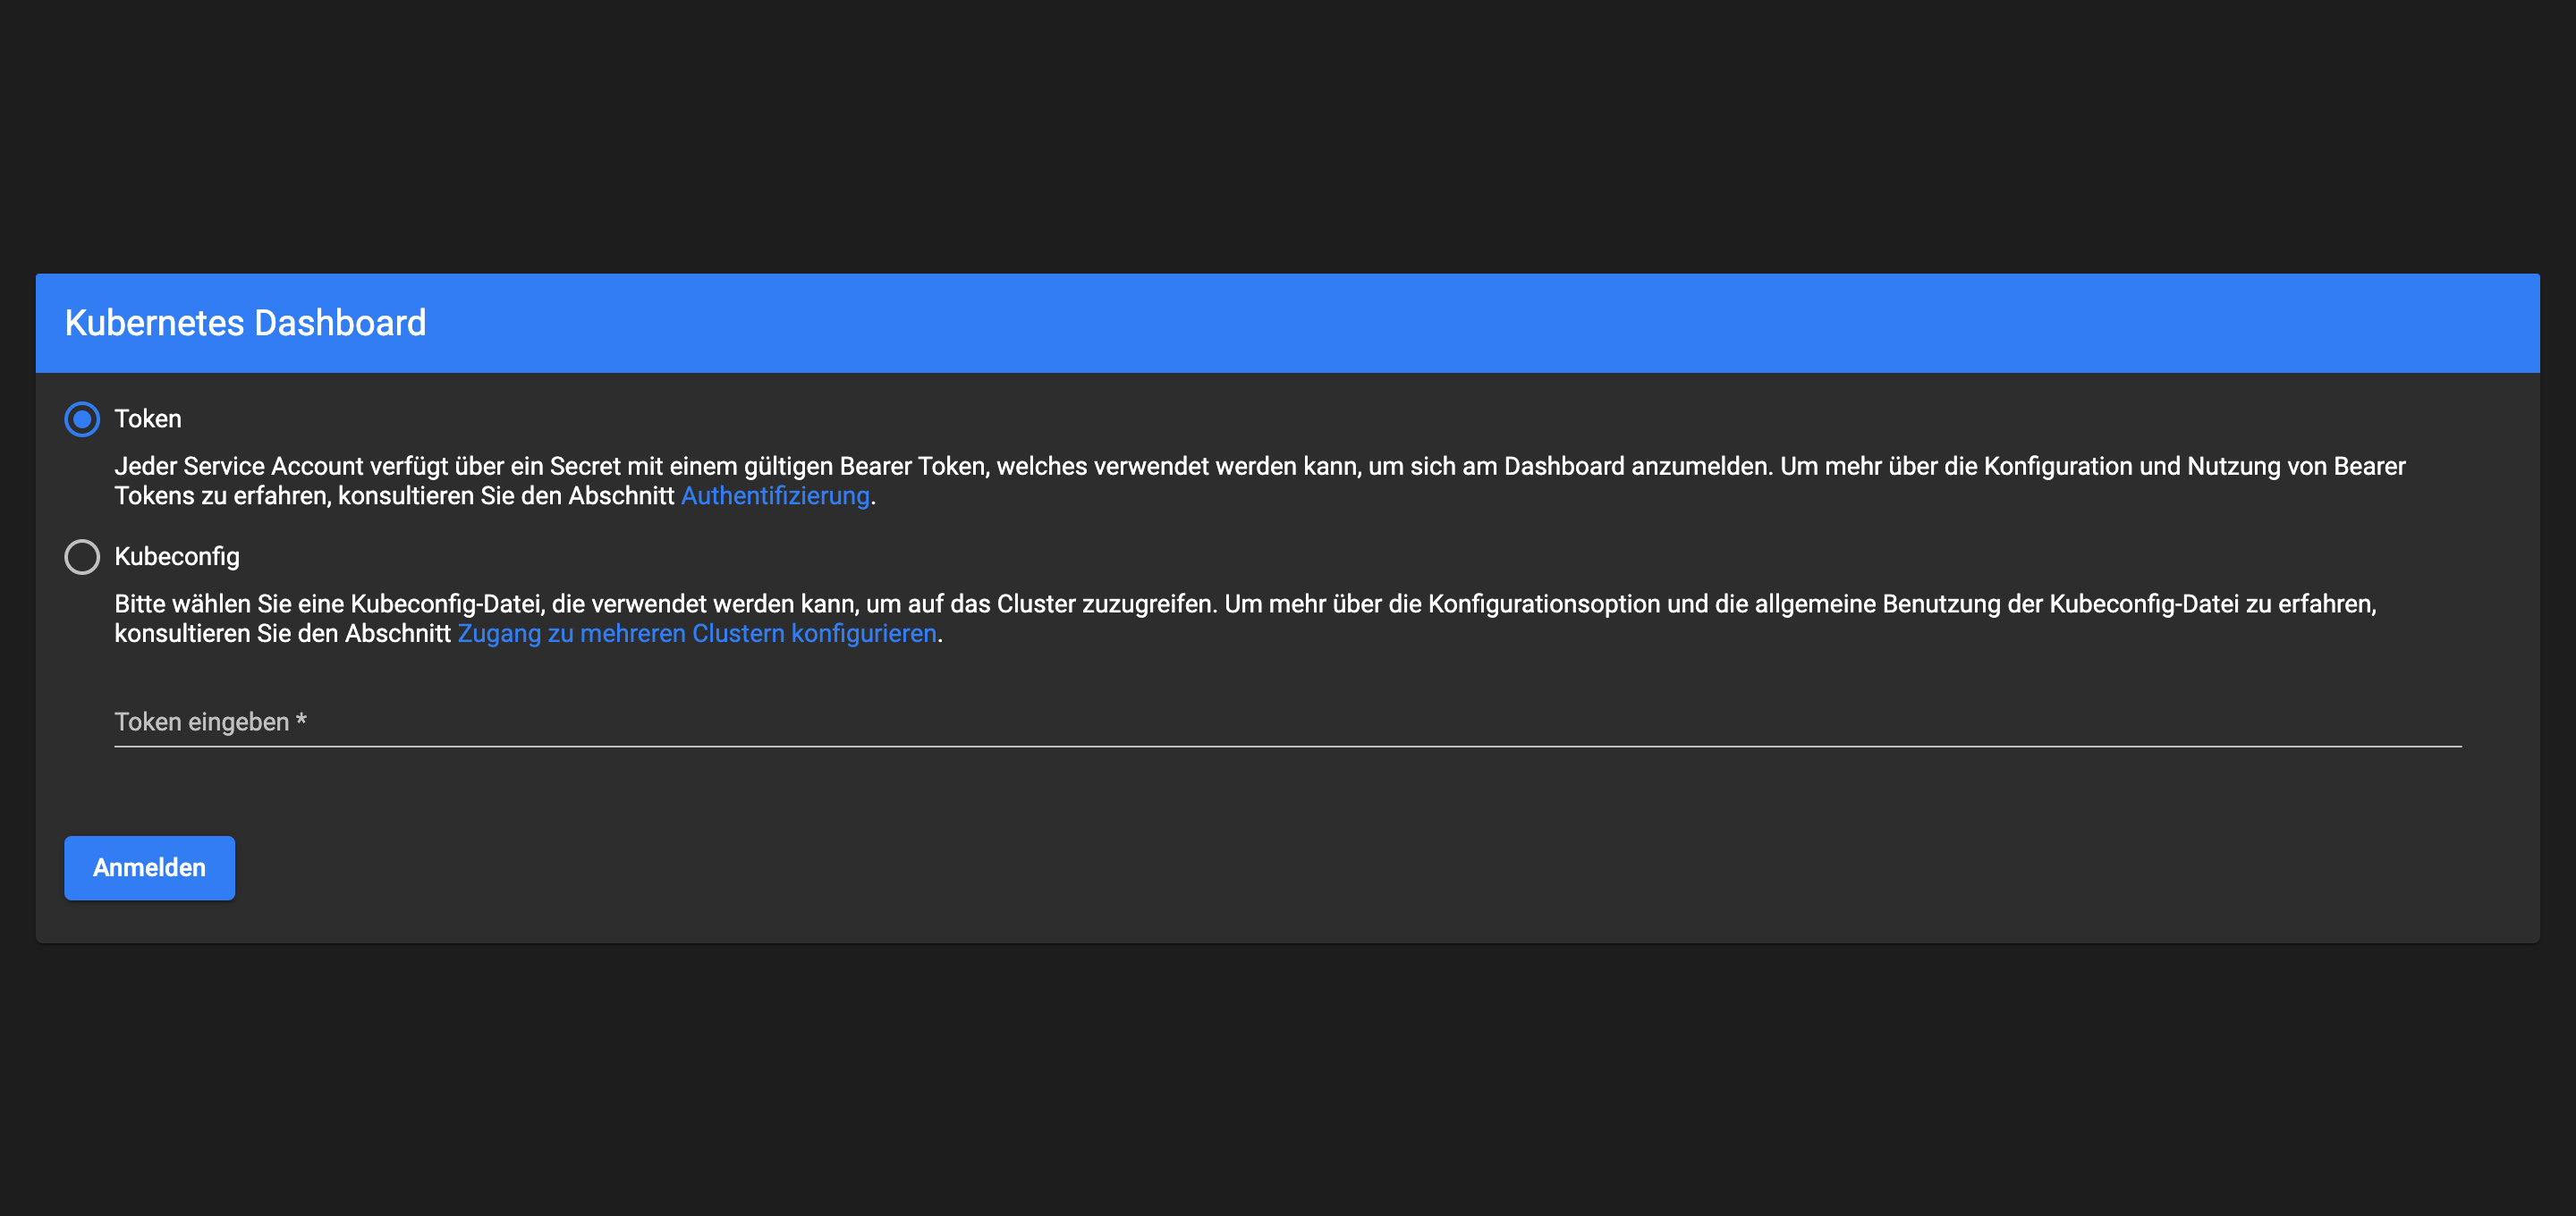 To create the token you can issue this command:
microk8s kubectl create token defaultNote: This token will expire after a while
Exposing and securing the container registry
To deploy your applications you will need to have a docker image ready. The easy way is to buy a docker hub premium subscription, the smarter way ist you use the provided Kubernetes registry. Before exposing the registry we should make sure that me put it behind basic auth to control access.
Generate htpaswd token
htpasswd -nb admin test > authThese obviously are test credentials. Now create the Kubernetes secret:
kubectl create secret generic basic-auth --from-file=auth -n container-registryWith this we will be able to specify this secret for our ingress.
apiVersion: networking.k8s.io/v1
kind: Ingress
metadata:
 name: registry-ingress
 annotations:
   cert-manager.io/cluster-issuer: lets-encrypt
   nginx.ingress.kubernetes.io/auth-realm: Authentication Required
   nginx.ingress.kubernetes.io/auth-secret: basic-auth
   nginx.ingress.kubernetes.io/auth-type: basic
spec:
 tls:
 - hosts:
   - registry.example.com
   secretName: microbot-ingress-tls
 rules:
 - host: registry.example.com
   http:
     paths:
     - backend:
         service:
           name: registry
           port:
             number: 32000
       path: /
       pathType: Prefix
Now you should be able to login on your local machine.
docker login registry.example.comThis is it now you can deploy your docker images inside of your Kubernetes Cluster!
apiVersion: apps/v1
kind: Deployment
metadata:
  name: nginx-deployment
  labels:
    app: nginx
spec:
  replicas: 3
  selector:
    matchLabels:
      app: nginx
  template:
    metadata:
      labels:
        app: nginx
    spec:
      containers:
      - name: nginx
        image: nginx:1.14.2
        ports:
        - containerPort: 80
kubectl expose deployment/nginx-deploymentapiVersion: networking.k8s.io/v1
kind: Ingress
metadata:
name: microbot-ingress
annotations:
cert-manager.io/cluster-issuer: lets-encrypt
spec:
tls:
- hosts:
- example.com
secretName: microbot-ingress-tls
rules:
- host: example.com
http:
paths:
- backend:
service:
name: nginx-deployment
port:
number: 80
path: /
pathType: Prefix